1. Tap the gear icon at the bottom of the screen.
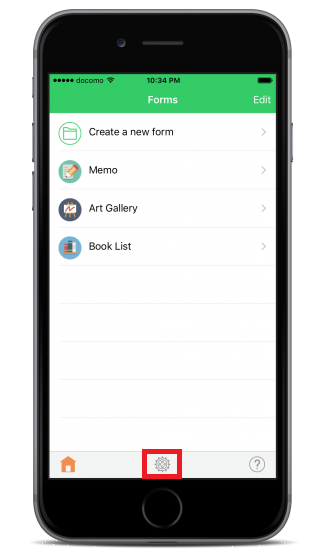
2. Various optional settings will be displayed, so select the items you want to configure.

Select the option which you would like to set.
1. Open the settings screen and tap "Data backup and restore."

2. If using this function for the first time or if logged out of Dropbox, this screen will be displayed.
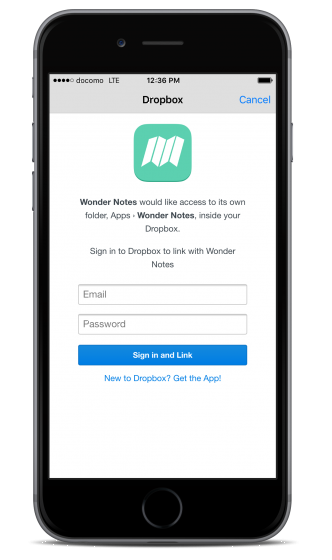
Log in to your own Dropbox account and link it with Wonder Notes.
3. Data backup: Adding backup -1-
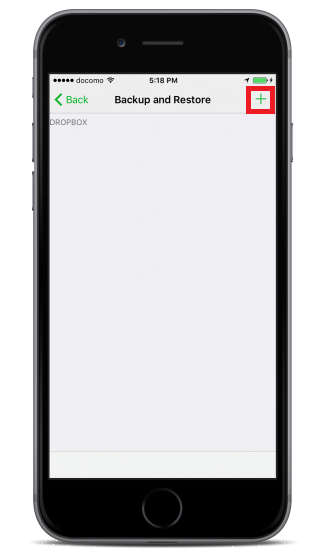
Tap the "+" icon on the upper right.
4. Data backup: Adding backup -2-
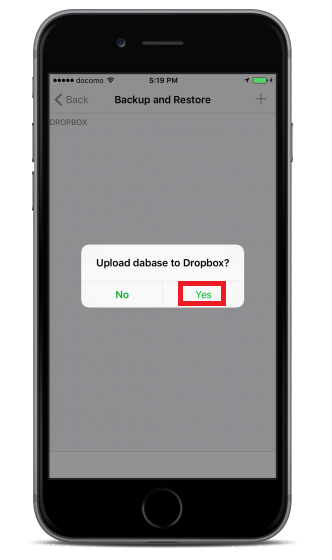
When upload is complete, a message will be displayed. Tap "OK."
5. Data backup: Adding backup -3-
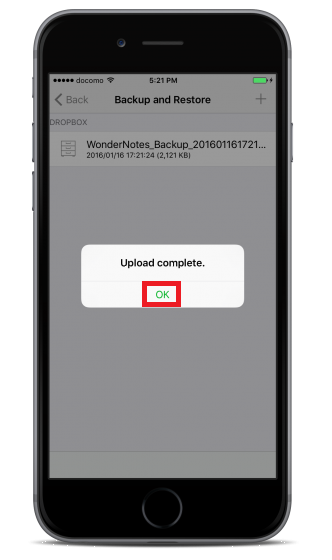
When upload is finished, tap "OK" on the upload completion message.
6. Data backup: Adding backup -4-
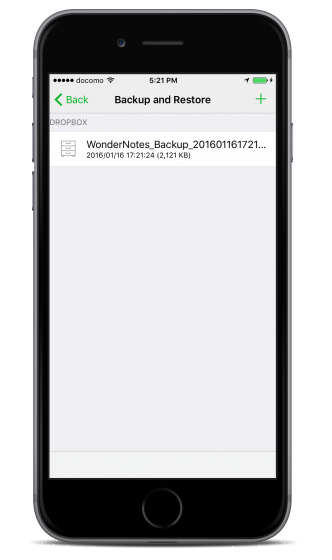
Backup file has been added.
7. Data restore: Restoring from backup -1-
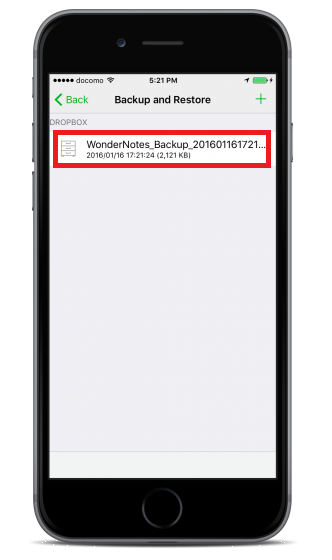
From the backup items, long press the one you want to restore.
8. Data restore: Restoring from backup -2-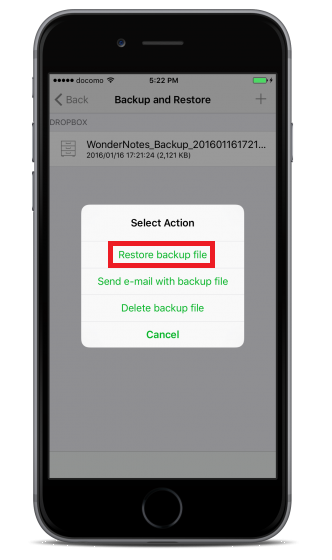
When the action selection screen is displayed, tap "Restore backup file."
9. Data restore: Restoring from backup -3-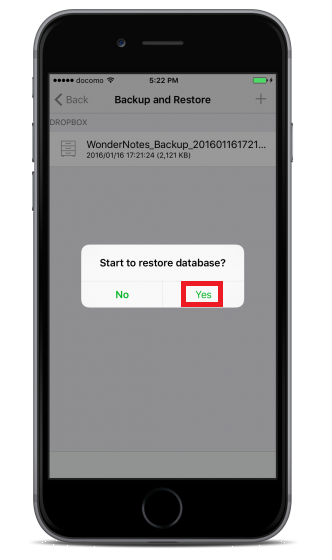
Tap "Yes" when the restore confirmation message is displayed.
10. Data restore: Restoring from backup -4-
When the confirmation message is displayed, tap "Yes."
11. Data restore: Restoring from backup -5-
When restore is finished, tap "OK" on the restore completion message.
1. Form and data backup -1-
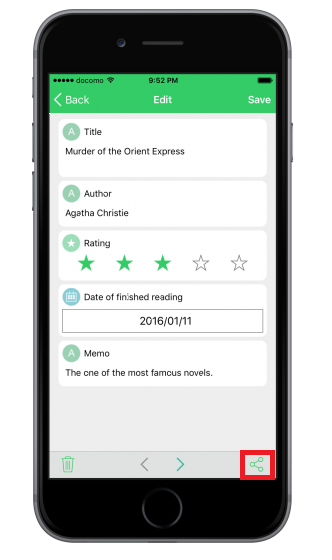
Open the form data you want to back up, and tap the data share icon on the bottom right.
The data transfer screen will be displayed.
2. Form and data backup -2-
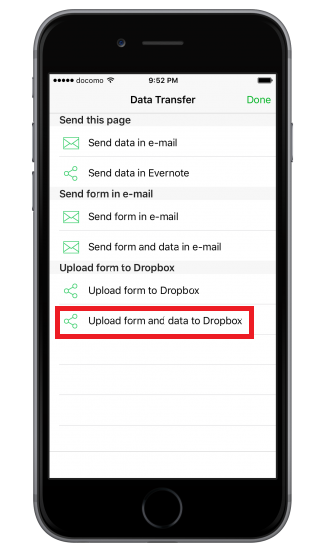
Tap either "Upload form to Dropbox" or "Upload form and data to Dropbox."
*Select to upload either the form only or both the form and the data.
3. Form and data backup -3-
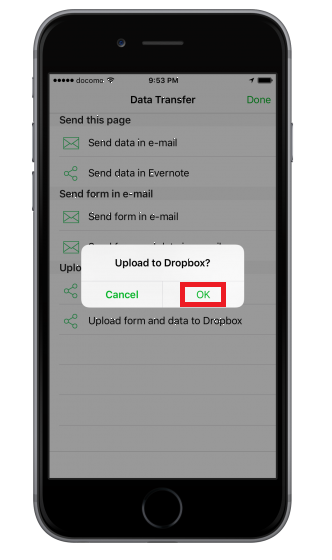
Tap "OK" when the confirmation message is displayed. Upload will begin.
4. Form and data backup -4-
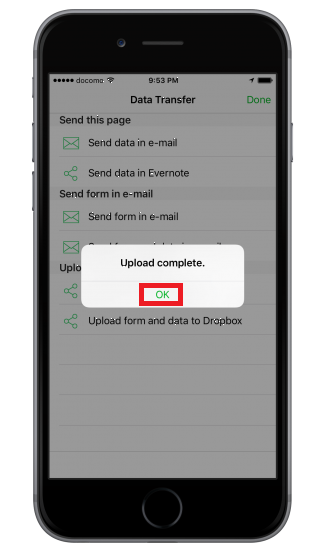
Tap "OK" when the completion message will be displayed.
5. Form and data import -1-
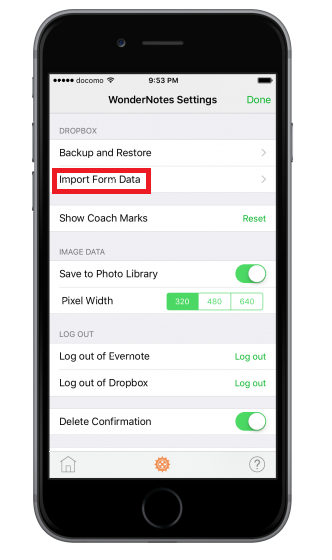
Open the settings screen, and tap "Import Form Data."
6. Form and data import -2-
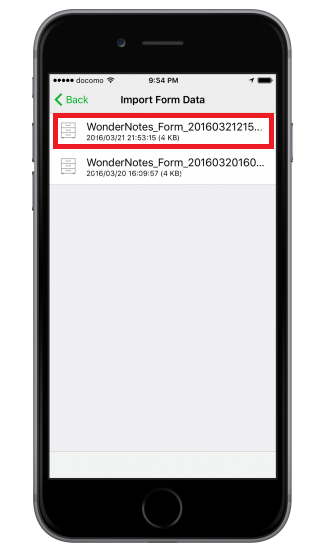
The file containing the form (form and data) saved on Dropbox will be displayed, so long press the file you want to import.
7. Form and data import -3-
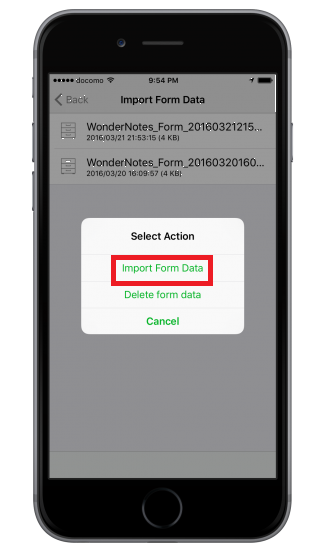
When the action selection screen is displayed, tap "Import Form Data."
8. Form and data import -4-

Tap "Yes" on the confirmation message and the data download and import will automatically start.
*When the import is complete, you’ll be returned to the home screen.
1. Open the data you want to send as an email.
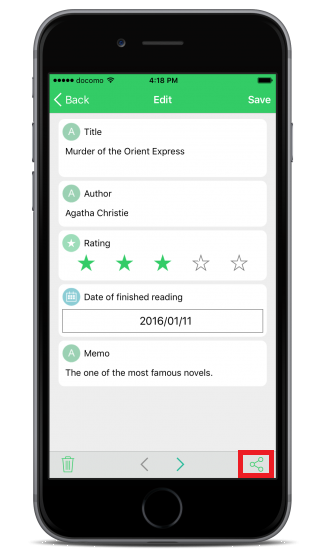
Tap the data share icon on the bottom right.
The data transfer screen will be displayed.
2. Send data by email: Send page data -1-
This function can only be used to send pages. 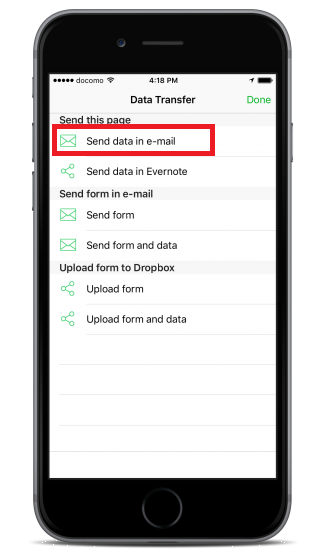
Tap "Send data in e-mail."
3. Send data by email: Send page data -2-
The email draft (including data) will be displayed. 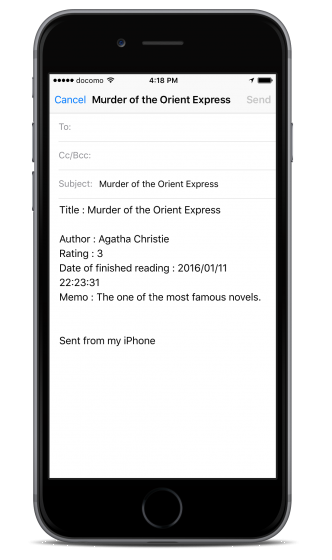
Enter the address and send the email.
4. Send data by email: Send forms -1-
This function can be used to send forms (excluding data).
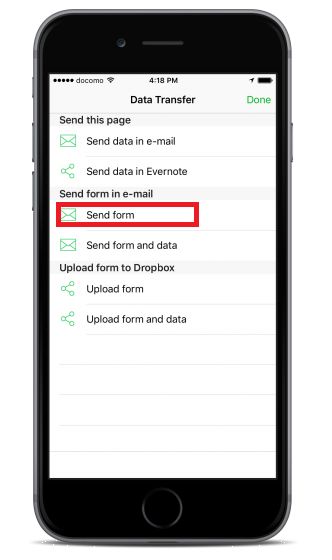
Tap "Send form."
5, Send data by email: Send forms -2-
The email draft will be displayed.

Enter the address and send the email.
6. end data by email: Send forms and data -1-
This function can be used to send forms (including data).
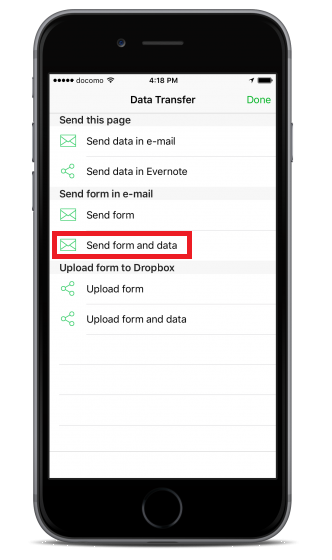
Tap "Send form and data."
7. Send data by email: Send forms and data -2-
The email draft (including data) will be displayed.
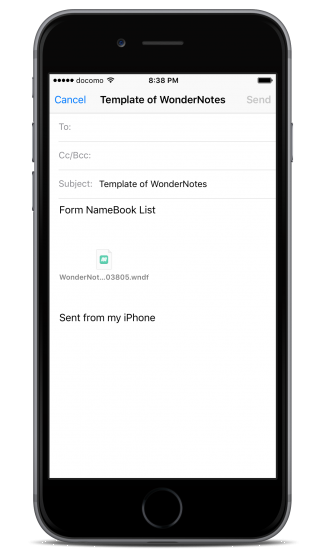
Enter the address and send the email.
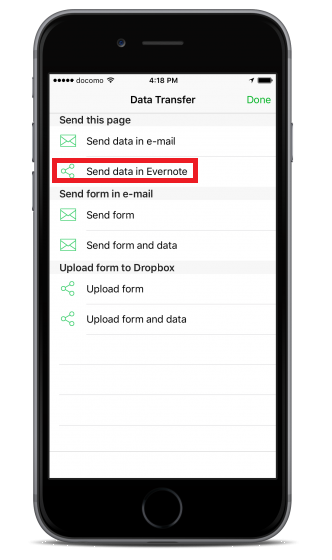
1. Open the data you want to upload to Evernote.

Open the data witch you'd like to upload to Evernote.
2. Tap "Send data in Evernote."
3. A confirmation message will appear.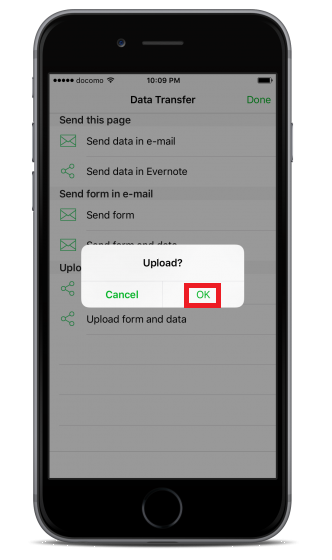
Tap "OK" on the confirmation message. Upload will start automatically.
4. If using this function for the first time, the Evernote login page will be displayed. 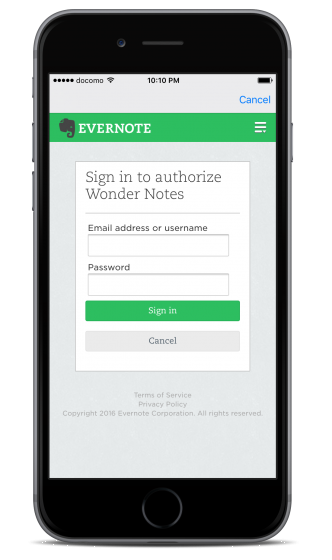
Log in to your Evernote account and link it with Wonder Notes.